Well, being a photographer and wanting to take pretty pictures that accurately depict where I was and the feelings I experienced there, I have always struggled with a quick and easy way to carry a nice camera with some sweet glass in a lightweight, and quickly accessible way.
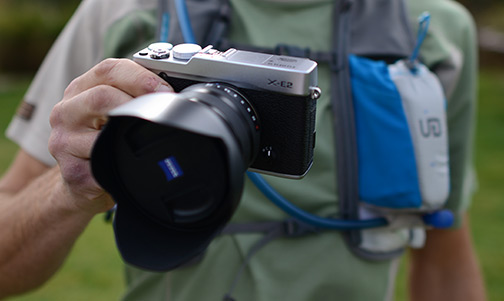
Sweet glass and a nice camera usually have meant heavy and not light weight. But I smartened up and got myself a Fujifilm X-E2 mirorless camera with a Zeiss 2.8/12mm (18mm full frame equivalent) to do just that. I use a B-Grip EVO Camera Belt Grip with a B-Grip Travel kit and quick release adapter to attach the camera to my Ultimate Direction Scott Jurek hydration vest.
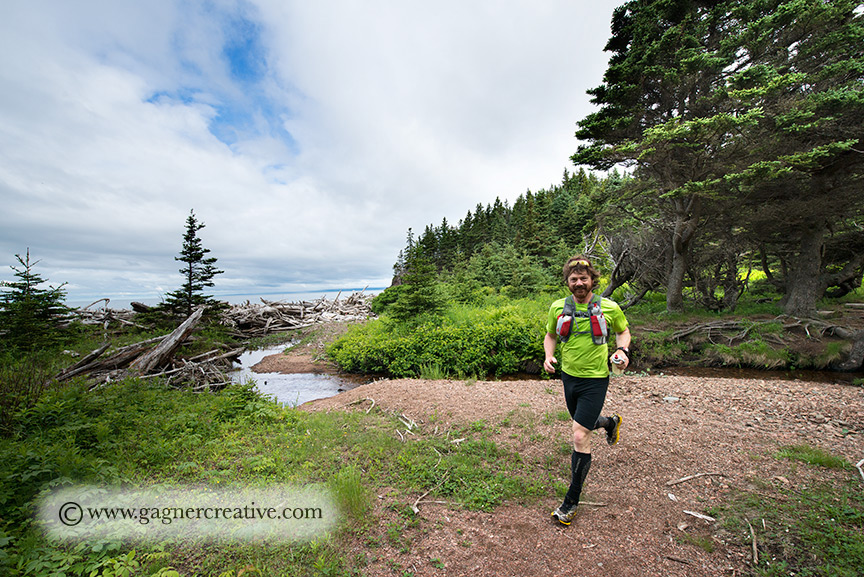
I can not only hike, but run on quite technical trails at a good clip, bounce free without looking super weird and nerdy. Just slightly nerdy, which I am OK with.
Sweet glass and a nice camera usually have meant heavy and not light weight. But I smartened up and got myself a Fujifilm X-E2 mirorless camera with a Zeiss 2.8/12mm (18mm full frame equivalent) to do just that. I use a B-Grip EVO Camera Belt Grip with a B-Grip Travel kit and quick release adapter to attach the camera to my Ultimate Direction Scott Jurek hydration vest.
I can not only hike, but run on quite technical trails at a good clip, bounce free without looking super weird and nerdy. Just slightly nerdy, which I am OK with.
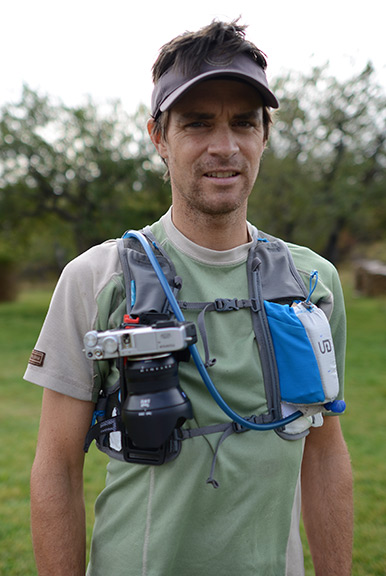
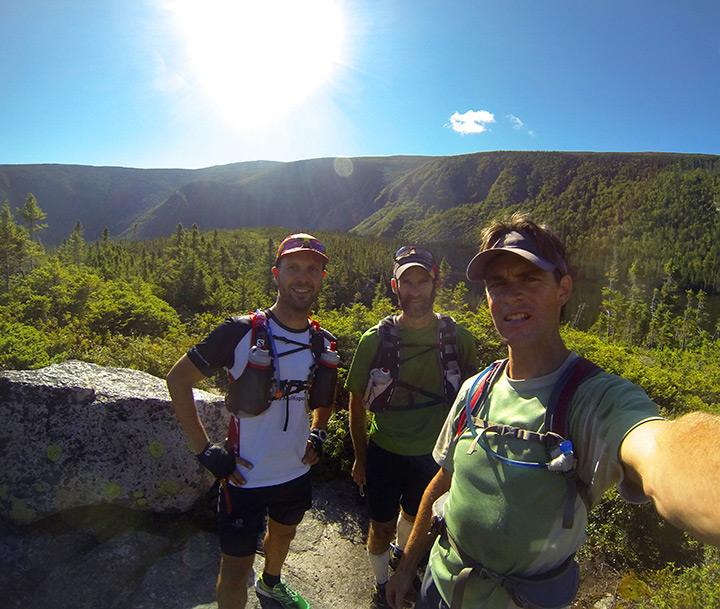
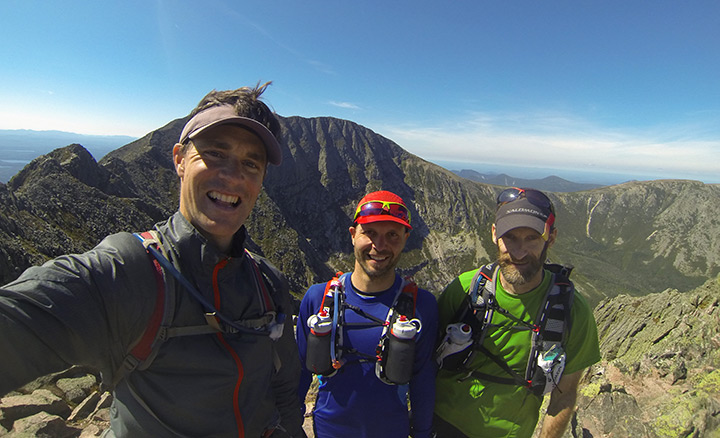
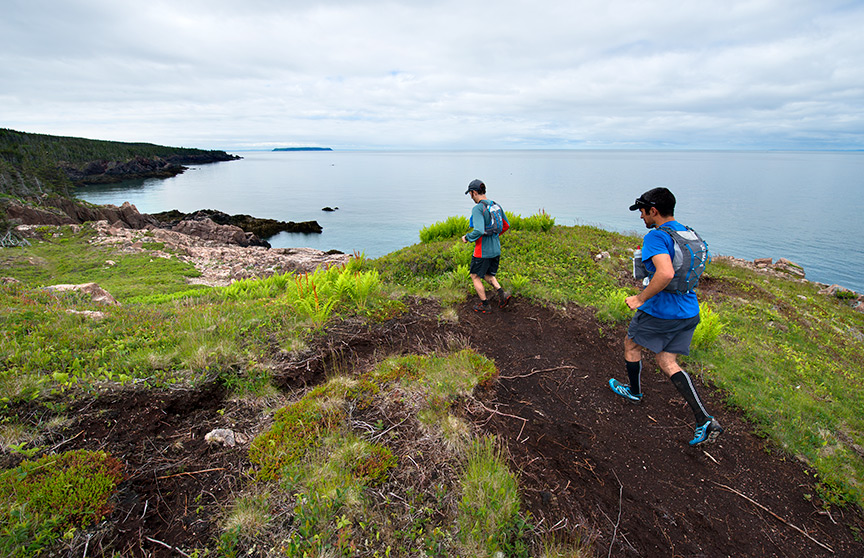
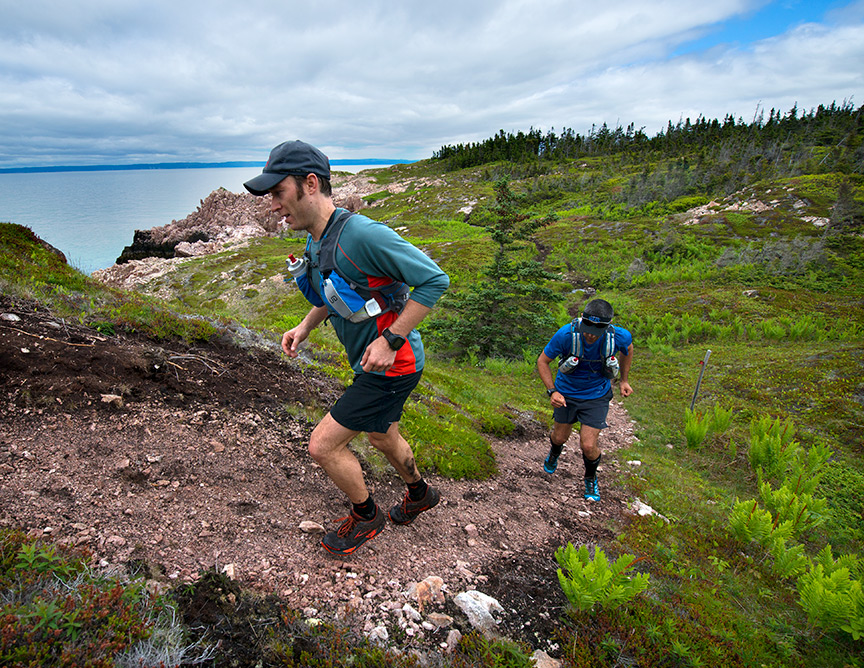
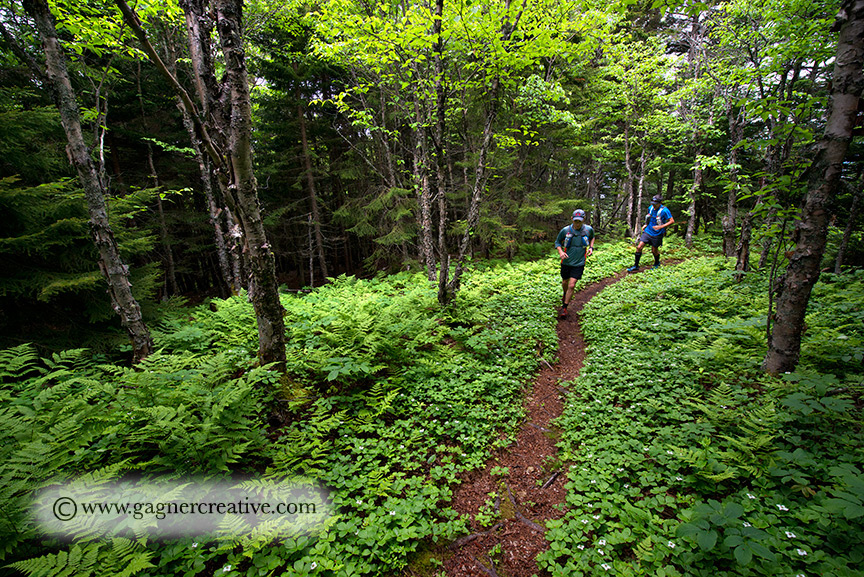
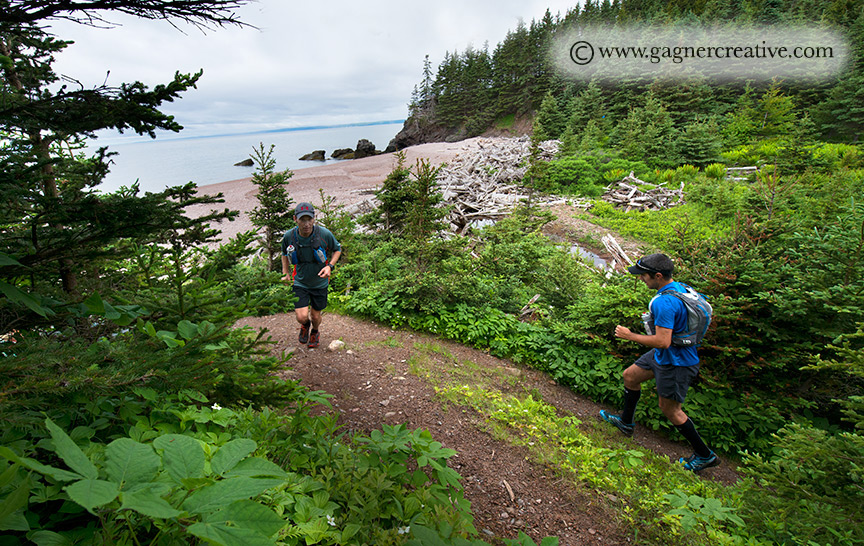
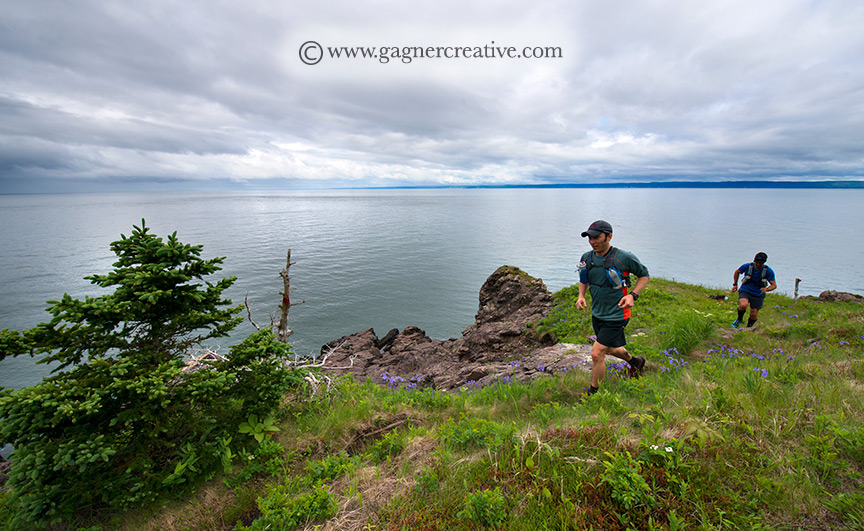
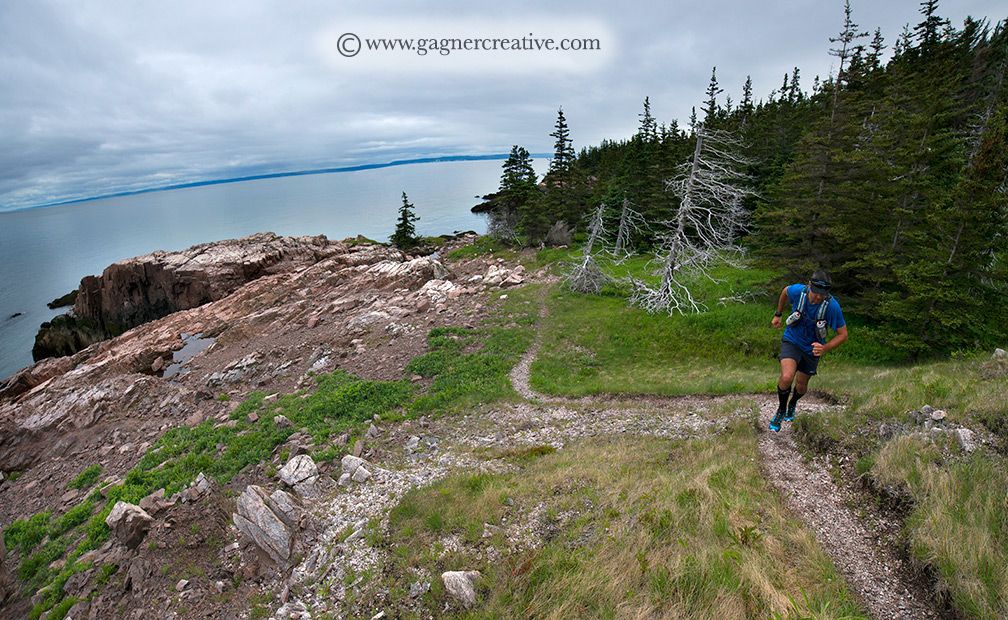
My lovely wife Sadie took these pictures. aren't they great?
So first with the straight poop on the vest. It is a super light weight one with every possible consideration having gone into keeping it light. I did make a few modifications to make it work but they were minimal.
So first with the straight poop on the vest. It is a super light weight one with every possible consideration having gone into keeping it light. I did make a few modifications to make it work but they were minimal.
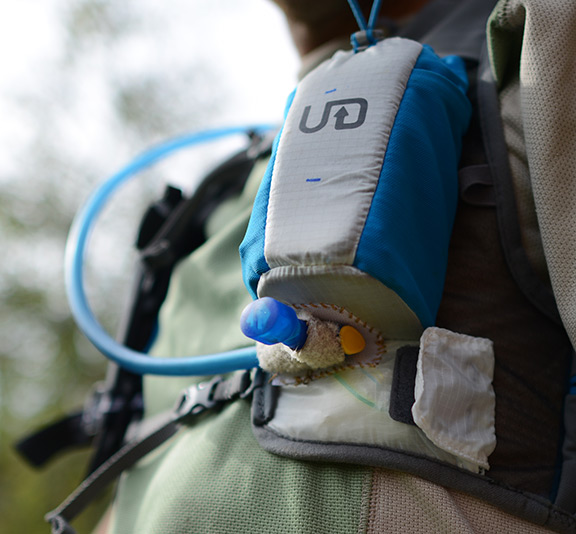
I sewed a small patch of hook velcro to the under side of the port side bottle holder because I have found that nary a vest out there has quick, easy hydration hose attachment system off the shelf. I actually prefer the bladder and hose style to the bottles because I find eating more of a hassle than hydration. I had some trouble getting used to that UD Kicker valve but once you get the hang of it, it works really well. I never thought I would have to read directions to use a water bottle but here they are. It sure helped me out. I am now a red nipple advocate.
One of the reasons I got this vest is so when I am running long, I can easily put 4 of my home made sweet potato-beet gels in each bottle pouch and squeeze them out as I go. Besides, with the camera set up I am with out one bottle anyway.
One of the reasons I got this vest is so when I am running long, I can easily put 4 of my home made sweet potato-beet gels in each bottle pouch and squeeze them out as I go. Besides, with the camera set up I am with out one bottle anyway.
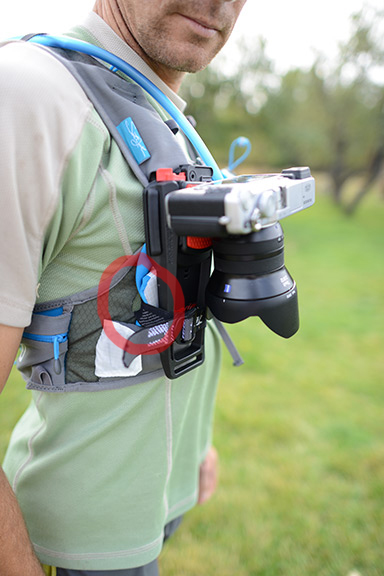
now for the B-Grip attachment set-up. In order to attach the B-Grip belt piece securely to the vest I had to heat up my olfa knife with a torch and send it through the Hexmesh in just the right spot to send a small strip of old headband elastic with a fastex type buckle on it for the lower portion of the B-Grip piece. The top is securely fastened with the included rubber strap. The quick release plate is fast and easy and has a lock too that again is easy to do up.
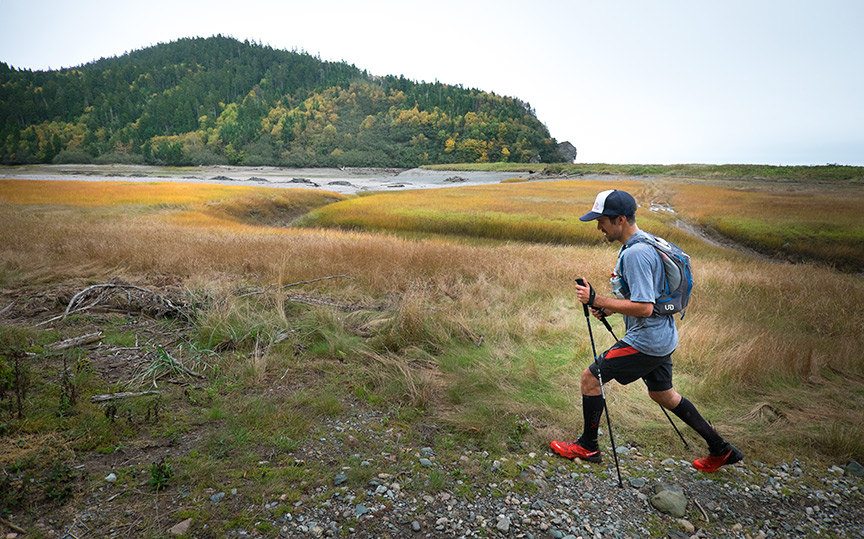
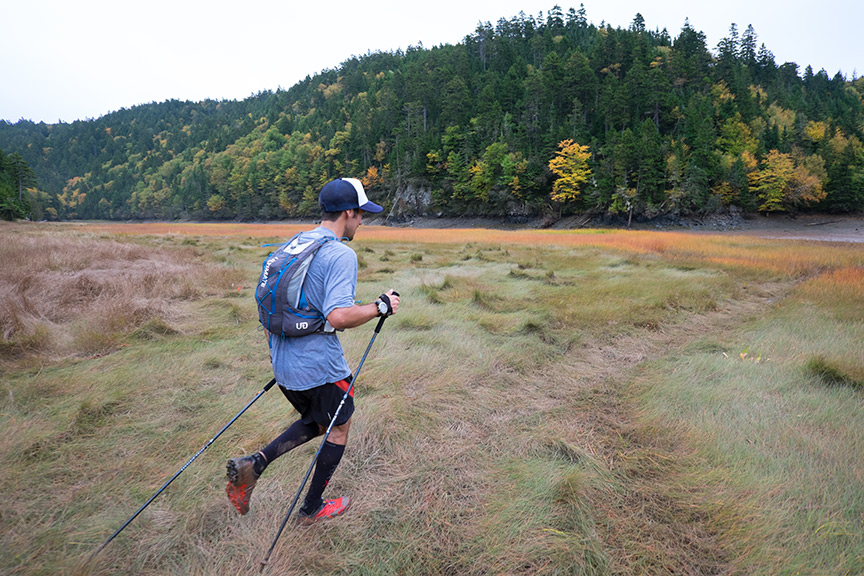
As you can see in this photo and the next, I twisted the camera a little inboard to avoid the lens hood from hitting the extra elastic buckle I put on there. Where did the starboard side bottle pouch go you ask? It is squashed nicely beneath the B-Grip thingum.
As you can see in this photo and the next, I twisted the camera a little inboard to avoid the lens hood from hitting the extra elastic buckle I put on there. Where did the starboard side bottle pouch go you ask? It is squashed nicely beneath the B-Grip thingum.
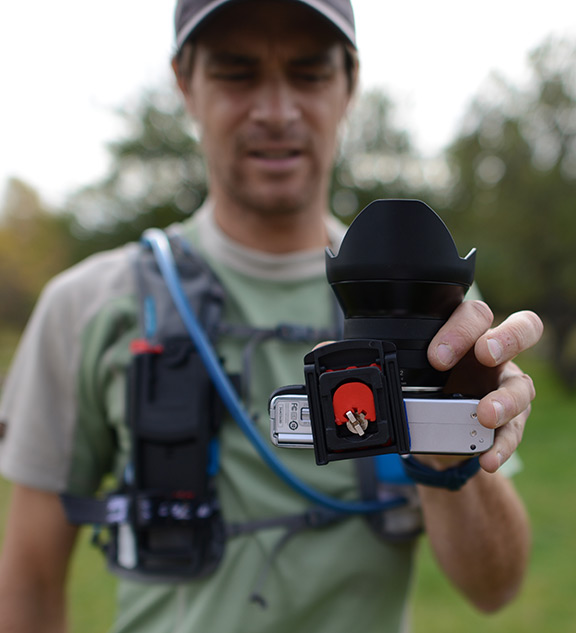
See how that quick release plate is a little caddy-whompus? That again is for lens hood clearance on my added elastic buckle.
And now for the camera and lens. I chose this set up because it is almost half as much as my last set up.....Nikon D800 and a 14-24mm/2.8 fatty lens. That last one was not as bad as I thought it would be, but not much better. It was more than bulky, it was balky.
The Fujifilm X-E2 has a decent electronic view finder (EVF), takes 30MB, 16 megapixel RAW images and shoots up to 7 frames per second (and really does). This is essential in any camera shooting fast moving, endurance chumps and gals as they are always drooling or drooping their eyelids and this ensures that at least a few pictures are usable. I use a plastic shower cap to put over it when it rains. I also run without the lens cap on for quicker shooting action.
I got the 2.8/12mm (18mm in 35mm equivalent) prime lens to go with it instead of the wider f4/10-24mm Fuji lens because it it lighter, and faster with a wider aperture. You can never go wrong with Zeiss optics either. Here is an in depth review of the Fujifilm X-E2.
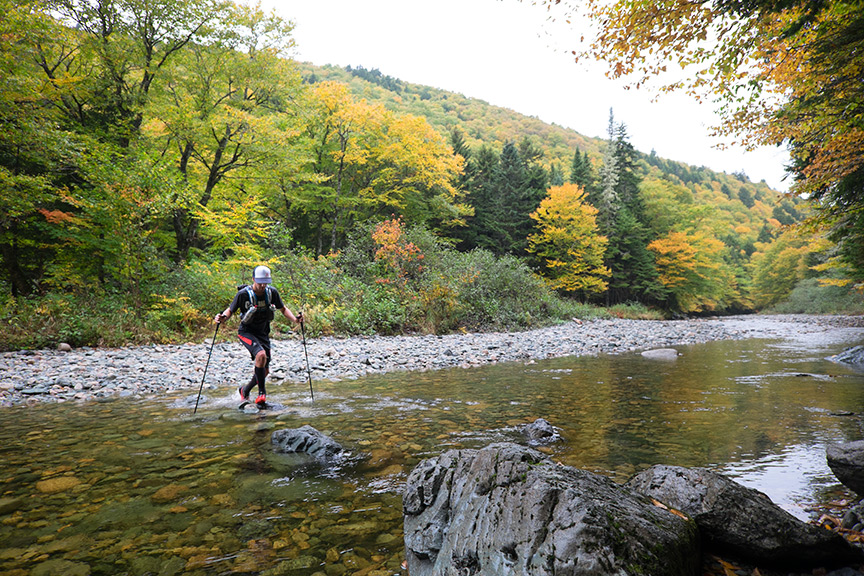
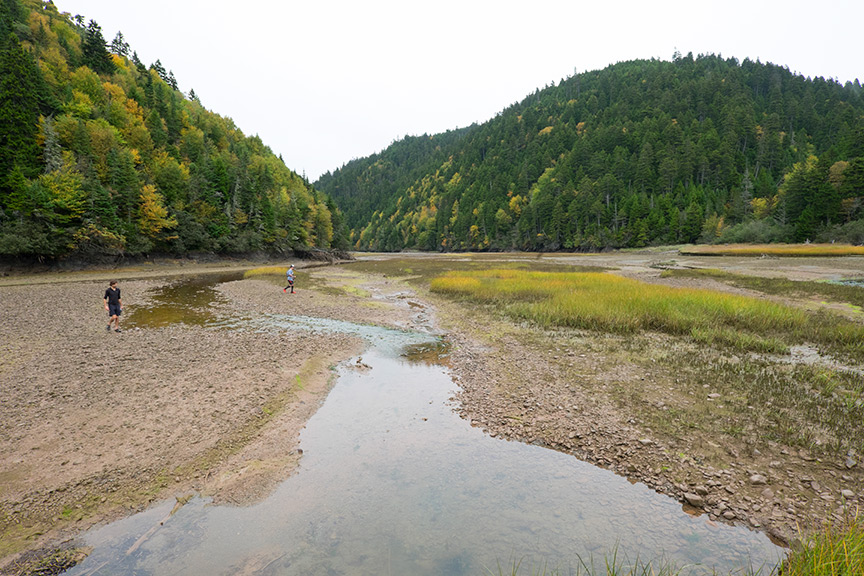
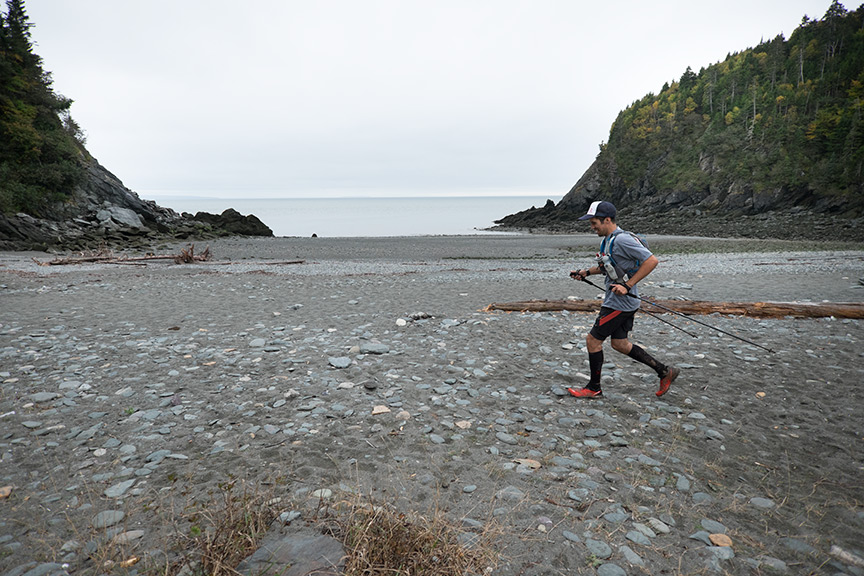
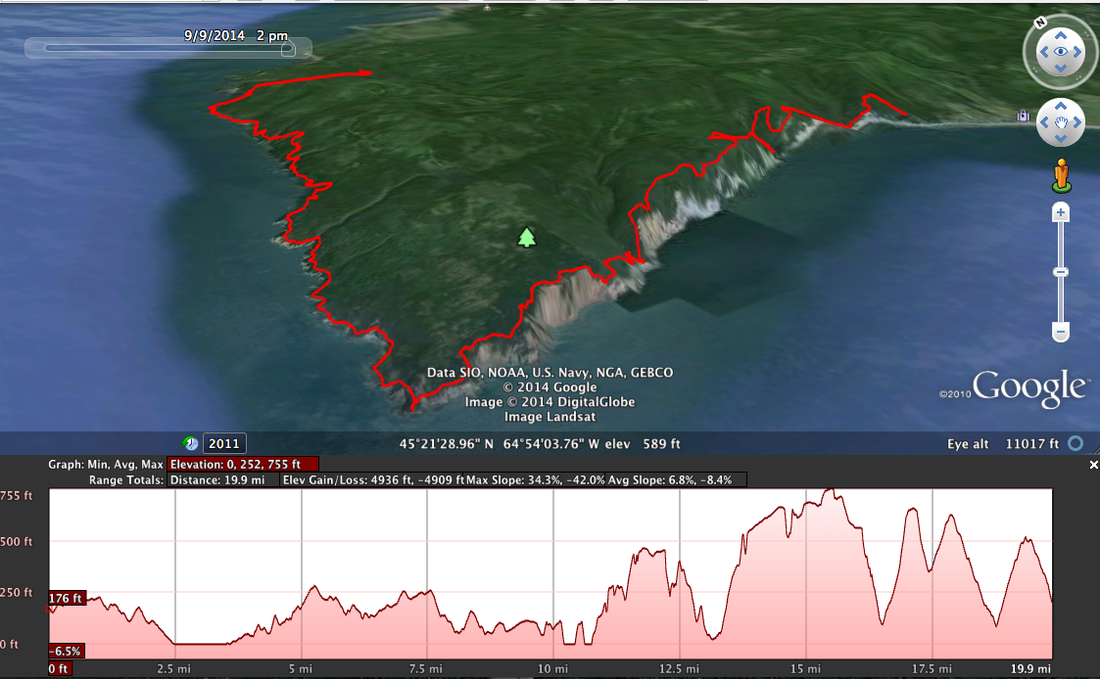
The first time I used it I ran 25k on the Fundy Footpath with Tim Barry on his Epic 135km Fundy Trek run on October 4th.
The Fujifilm X-E2 has a decent electronic view finder (EVF), takes 30MB, 16 megapixel RAW images and shoots up to 7 frames per second (and really does). This is essential in any camera shooting fast moving, endurance chumps and gals as they are always drooling or drooping their eyelids and this ensures that at least a few pictures are usable. I use a plastic shower cap to put over it when it rains. I also run without the lens cap on for quicker shooting action.
I got the 2.8/12mm (18mm in 35mm equivalent) prime lens to go with it instead of the wider f4/10-24mm Fuji lens because it it lighter, and faster with a wider aperture. You can never go wrong with Zeiss optics either. Here is an in depth review of the Fujifilm X-E2.
The first time I used it I ran 25k on the Fundy Footpath with Tim Barry on his Epic 135km Fundy Trek run on October 4th.


 RSS Feed